The other day I created, what I thought was a brilliant table. Only for me to realize I swapped a couple of rows completely, which at first I thought to fix by flipping the axis. But soon I realized I skipped one data range as well.
Upon looking a little bit over Microsoft’s official resources, I learned a couple of ways to move rows in Excel without disturbing your formatting. In this article, I will take each in detail.
So, without further ado, let’s get into it.
Method 1: Using Cut & Insert
The first method is to cut the entire row, insert a new one where you want it to move, and paste the values in the newly added row.
Follow these simple steps:
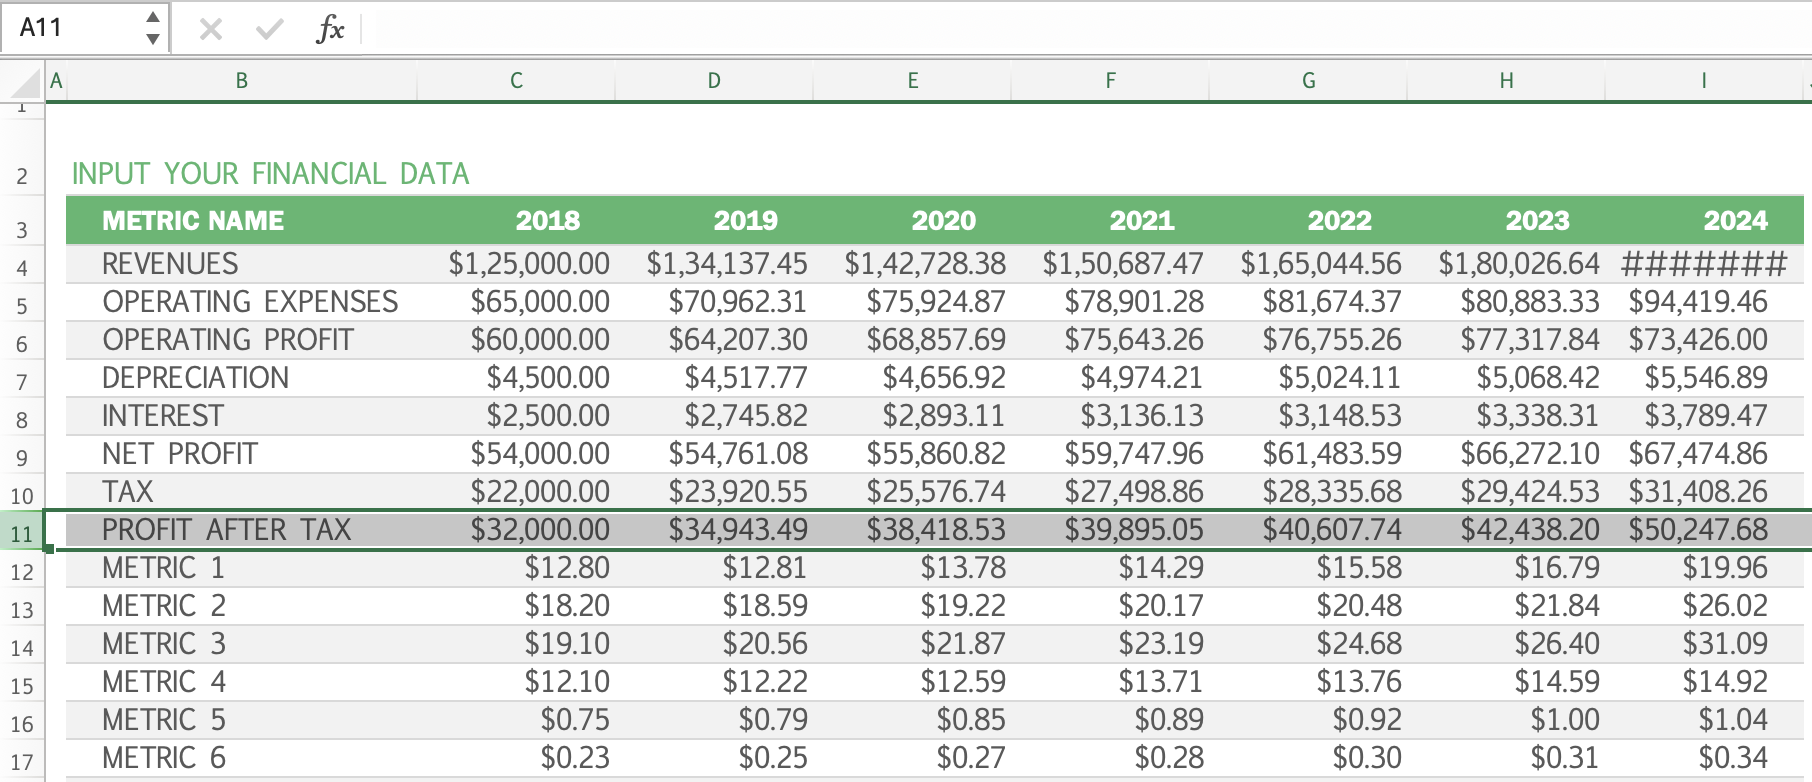
- Click on the row you want to move from its heading number on the far left of the screen.
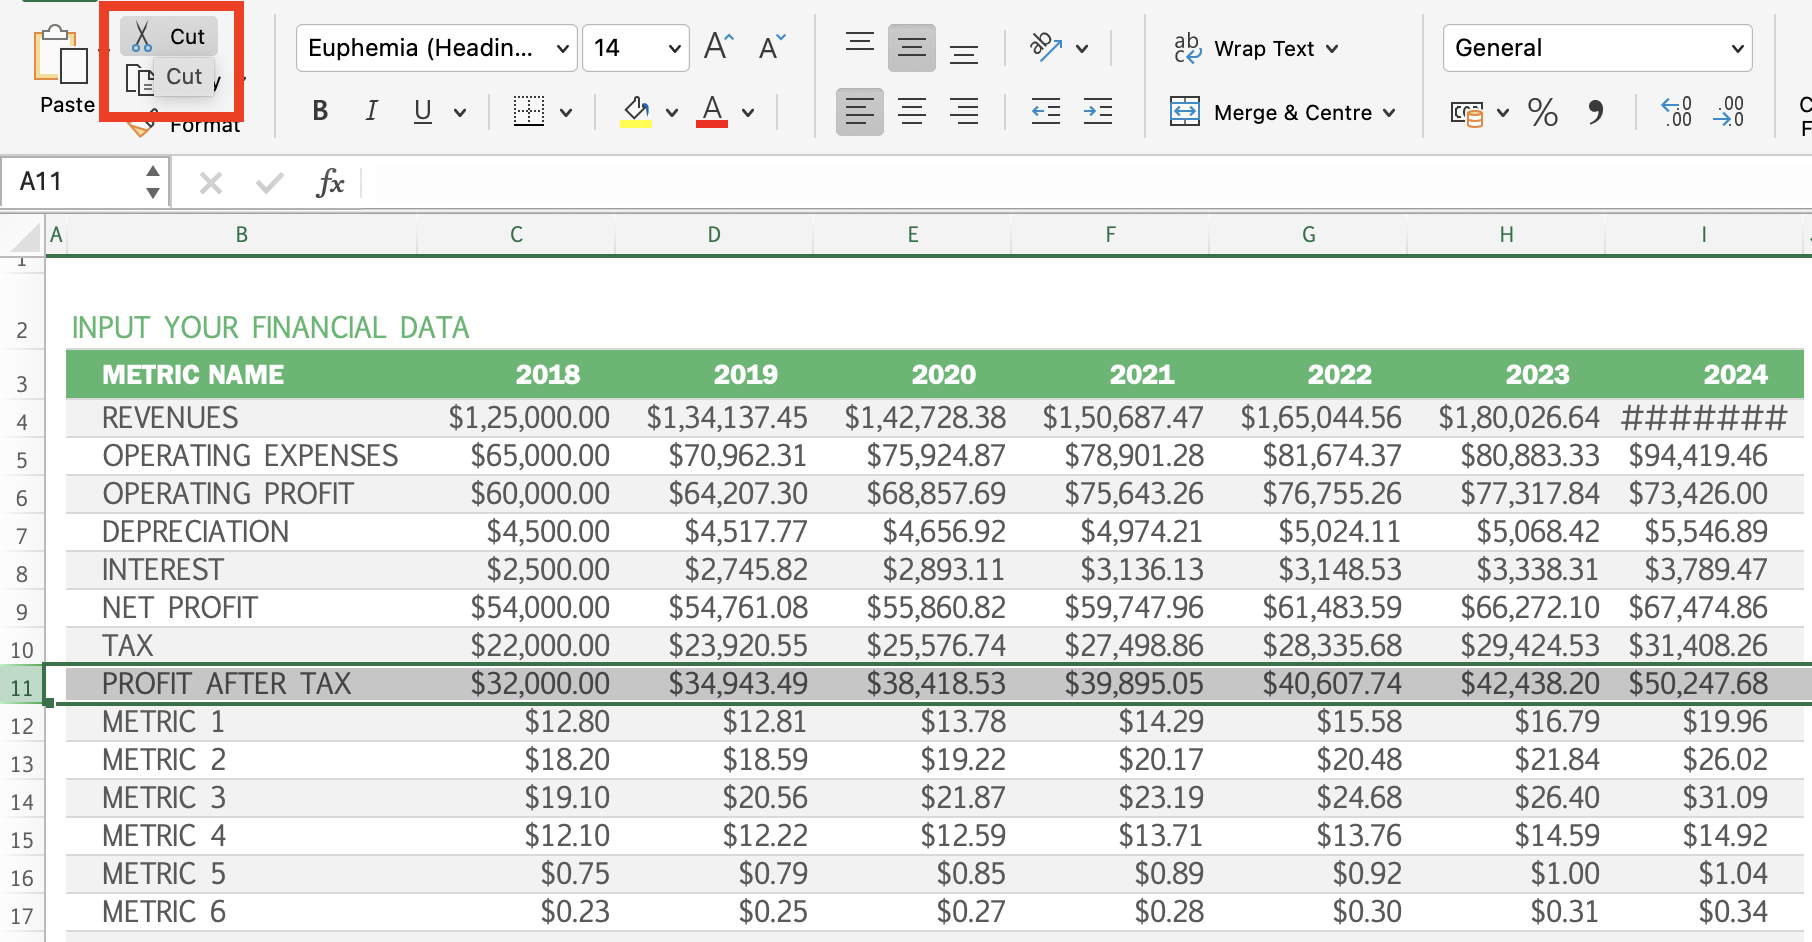
- Cut the row by pressing Ctrl/Command + X or by selecting “Cut” from the right-click menu.
- Now go to the row above which you want to move the data.
- Right click on it and select “Insert” which will insert a new row above your selection.
- Now click on the heading of the newly inserted row.
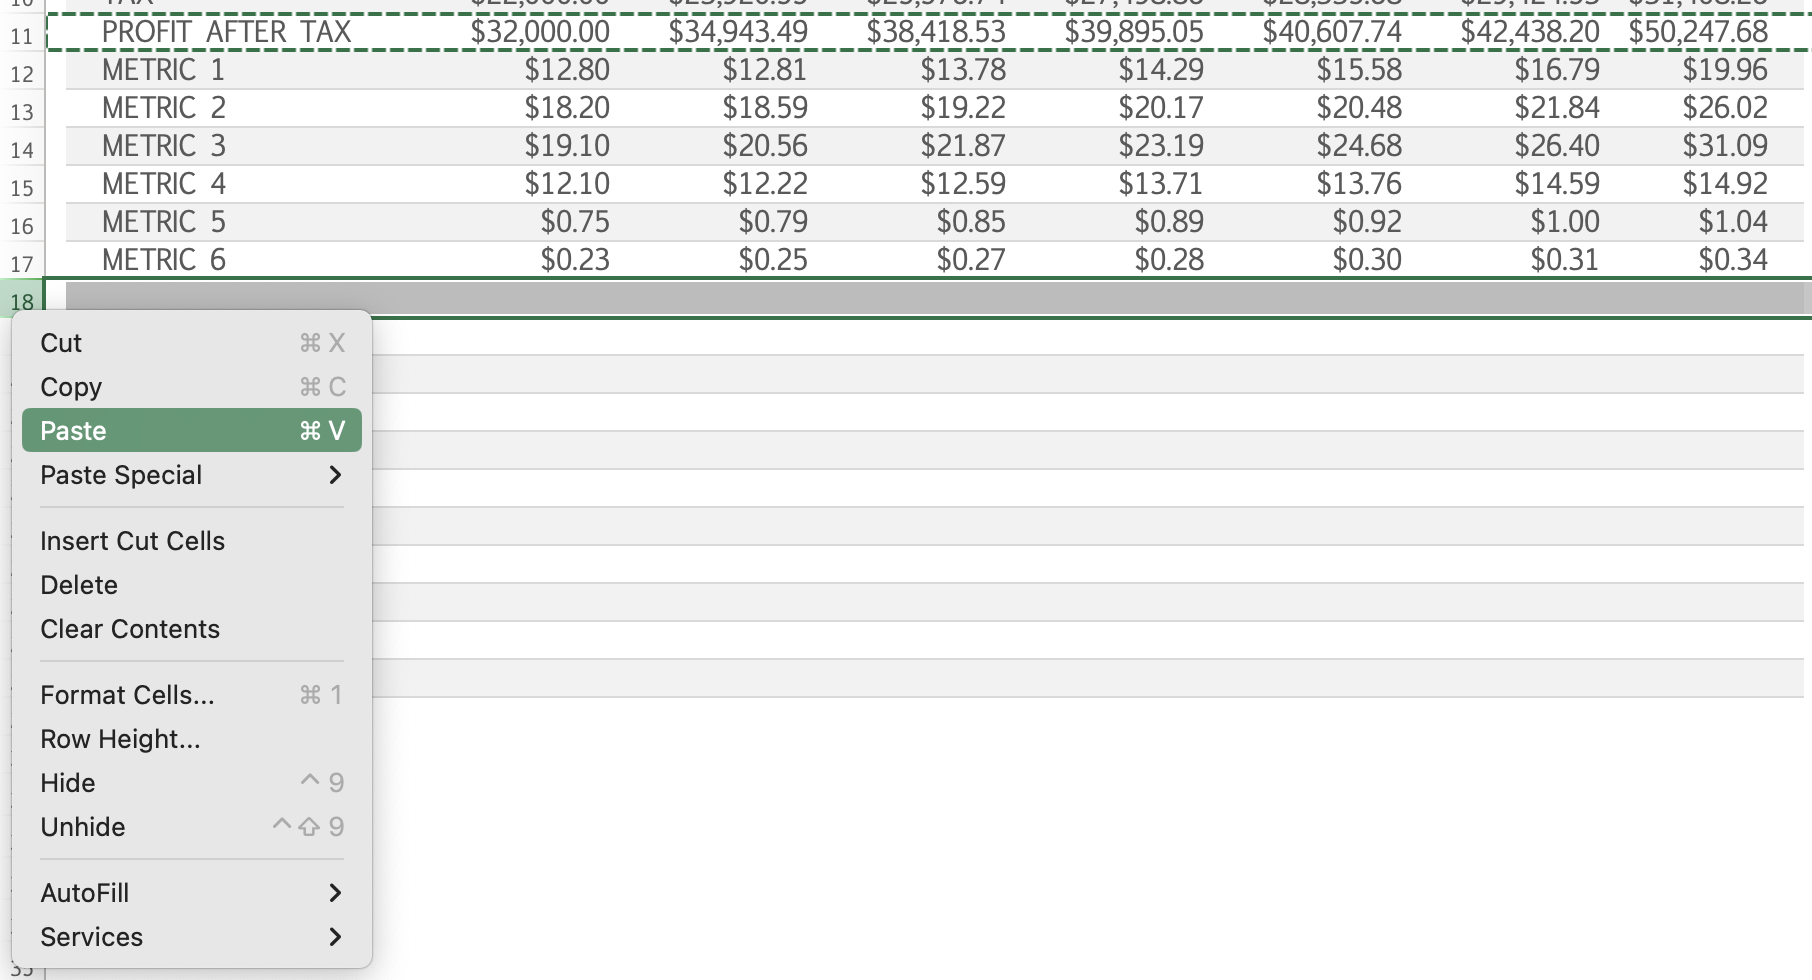
- Now paste the copied row by pressing Ctrl/Command + V or by selecting “Paste” from the right-click menu.
Note: If the destination where you want to shift the row is already empty then you simply have to click on the heading of the destination row and paste the copied values of the row you cut earlier.
Method 2: Using Drag & Drop
The earlier method requires you to cut and paste the values of an entire row. Moreover, if the destination is already filled then you have to insert a new row and paste the values.
If you want to rearrange a row faster, then you need to have a little command over the cursor.
Here is how you can move rows in Excel using a simple drag and drop.
- Click on the row from its heading number on the far left of the screen.
- Hover the cursor over to the upper edge of the selected row till you see the move cursor.
- Once you get the move cursor, simply click on it and move it to the destination in the sheet.
This requires a little precision over the cursor and the overall movement. You can always undo the movement with Ctrl/Command + Z in case you make a mistake.
Moving Multiple Rows at Once in Excel
It’s the same as you move a single row. The only difference is you need to select multiple rows by holding Ctrl/Command and clicking on the rows.
If they are consecutive then simply click on one row, press shift, and move the arrow up or down to make the selection.
Once the selection is done, then perform the same steps mentioned in the two methods above.
- Cut the selection and paste it at the destination in the sheet.
- Hover over the upper edge of the selected rows till you get the move cursor, click on it, and drag it to the destination in the sheet.
Wrap Up!
If you are not an advanced level user then you may disrupt the formatting of the other cells/rows entirely. In that case, the safest way is to cut a row and paste it to its destination. That said, I hope you liked this guide. If you’ve got any queries, please comment below.


Leave a Reply