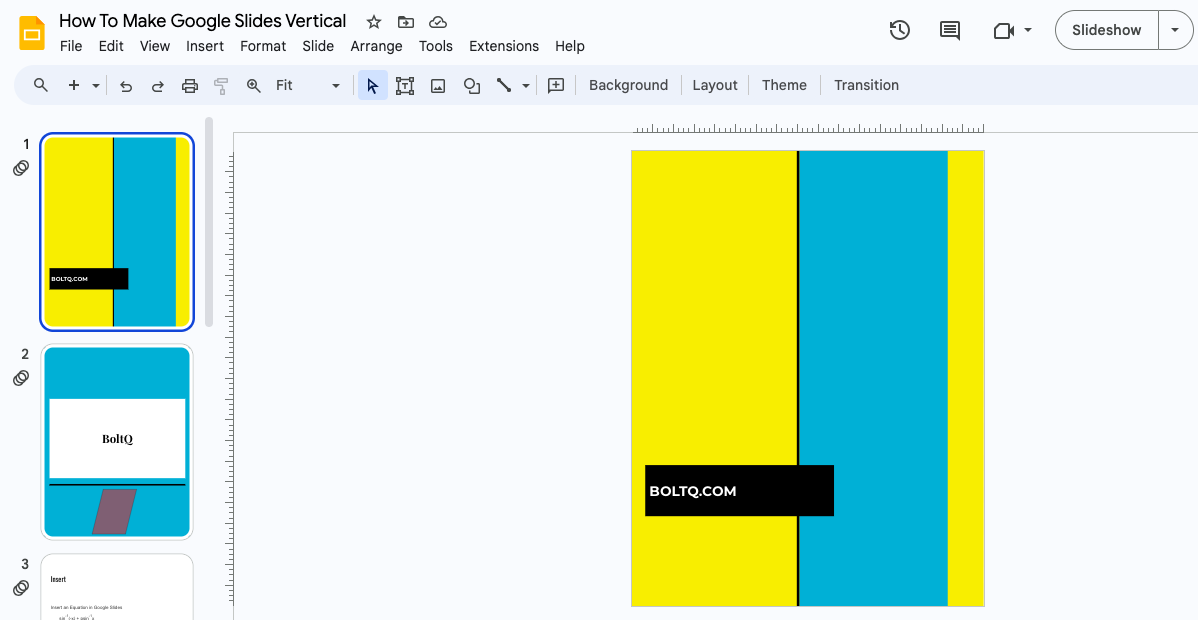
Vertical orientation imitates a natural scrolling effect. They make presentations more user-friendly while also adding a touch of newness. Although Google Slides doesn’t primarily offer a vertical slide, there’s a way to achieve this.
So, if you think they convey your content better and want to break away from the monotony of horizontal slides, you’re in the right place.
Steps to Make Google Slides Vertical
A continuous flow will hold your audience’s attention better, so creating a presentation using a page setup might be helpful. Follow the below steps:
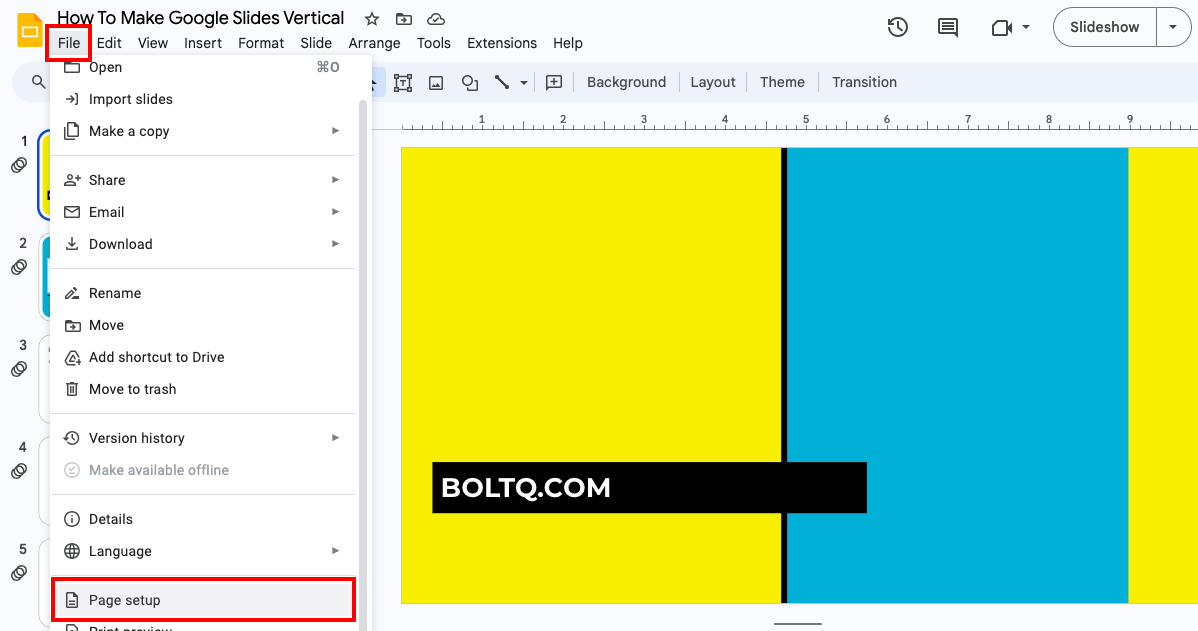
- Go to the Menu bar and select File.
- Choose “Page Setup” to change the aspect ratio of your canvas/slide.
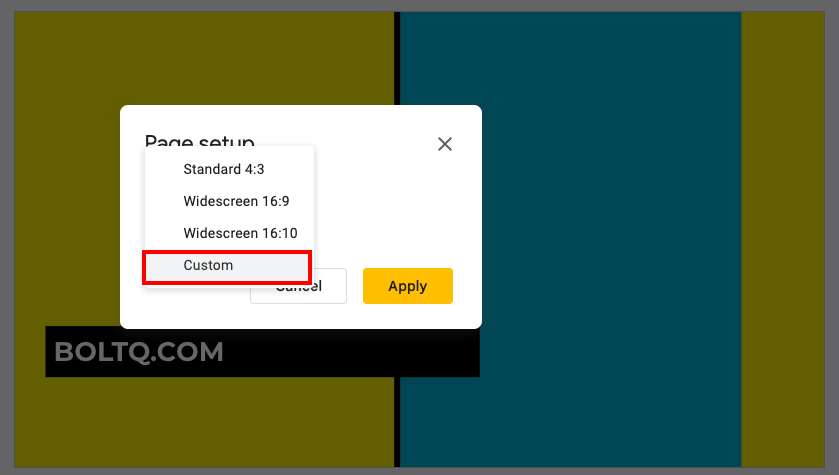
- From the drop-down menu, select “Custom”.
- Enter the required dimensions.
- Click “Apply” to change the orientation.
Note: There are no standard dimensions for vertical slides, but here are some commonly used ones:
- US Letter: 8.5 X 11 inches
- Legal: 8.5 X 14 inches
- A4: 21 X 29.7 cm
- A3: 29.7 X 42 cm
The dimensions for social media platforms is 1080 X 1920 pixels, with a 9:16 aspect ratio. Additionally, you can add a theme, transitions, voiceover, timer, etc. to enhance your slideshows.
Frequently Asked Questions
Unfortunately, there is no direct way to change the orientation of your slides on a mobile app. However, if you connect your phone and laptop from the same Google account, your changes will also be saved on your phone.
You’ll have to manually adjust the orientation of your text box and elements, even after creating vertical Google Slides.
No, you cannot use vertical and horizontal slides in the same presentation.
Wrap Up!
Vertical slides make printing my material easier and presenting it better using a mobile device. While they are an excellent option to break the monotony, I recommend testing your visuals and elements before presenting.
Remember that vertical slides may not utilize the full screen on monitors and projectors, so checking aspect ratio compatibility is wise.


Leave a Reply