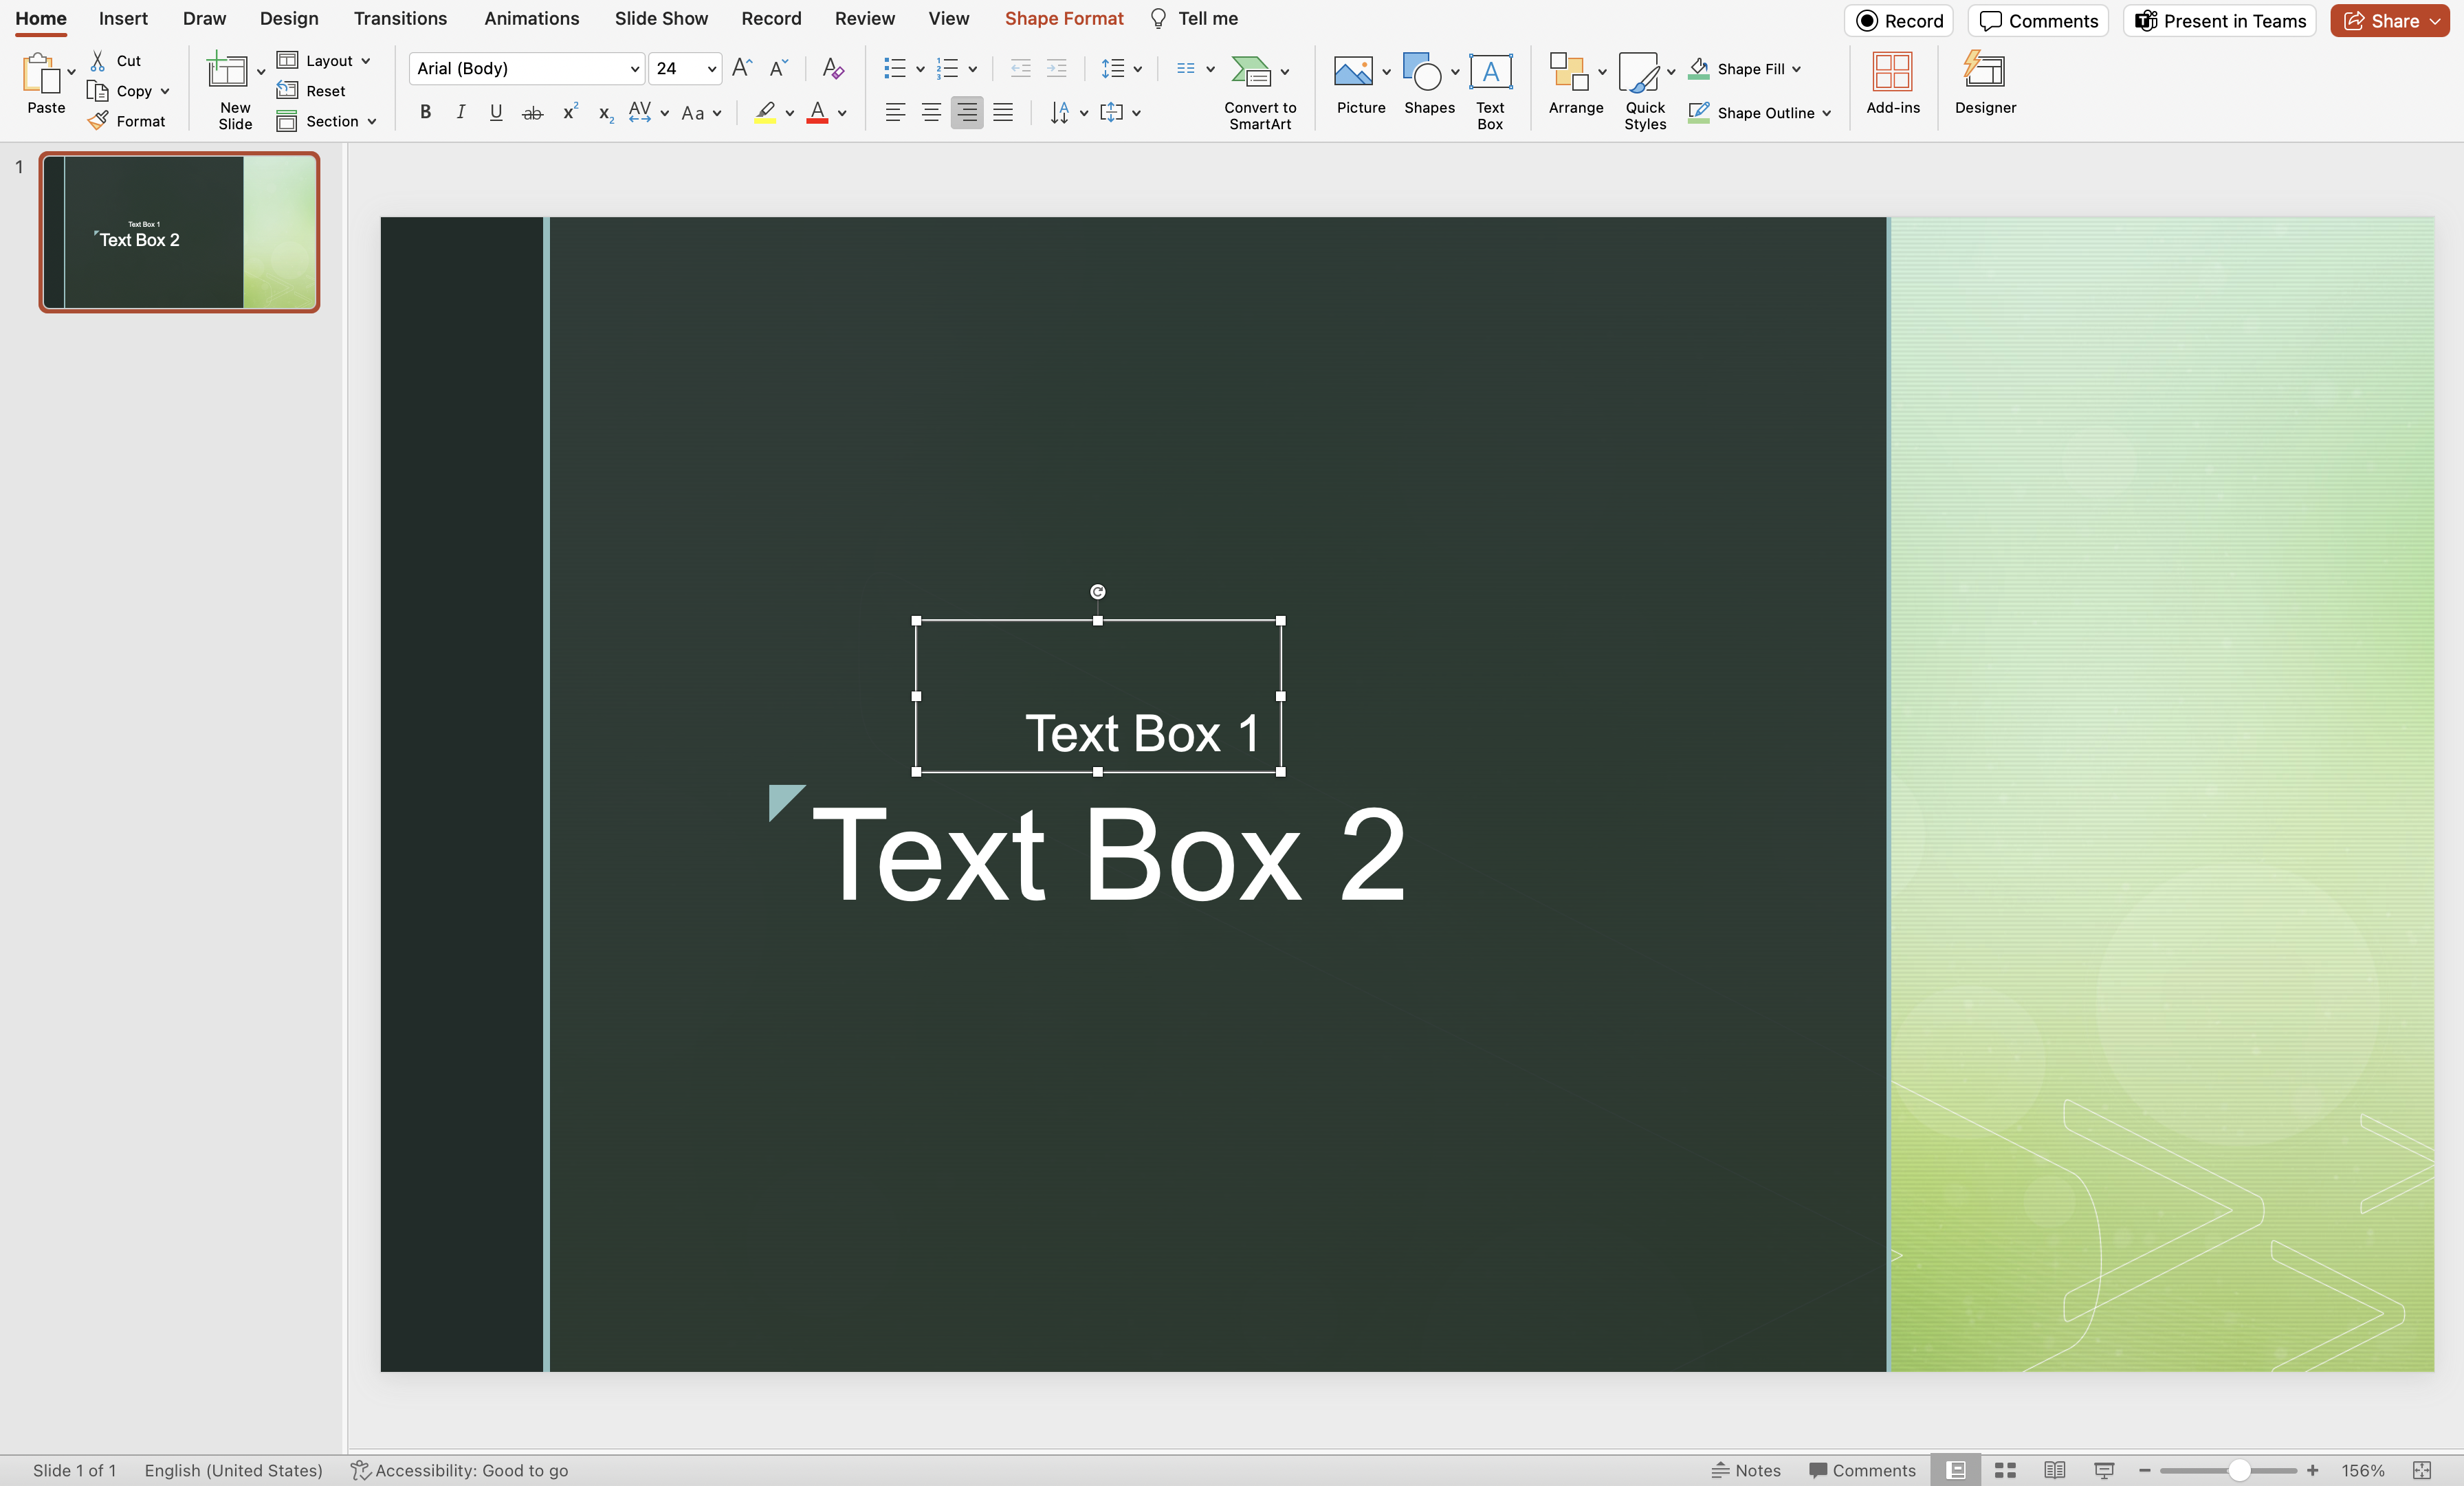
Deleting a text box or any design object in PowerPoint is very simple. All you have to do is hover the cursor over it till it turns into the move cursor with arrows on all four sides, click on the text box, and press the Delete key.
But wait, what if you have multiple text boxes on top of each other? Or even worse, what if you have grouped your text box over a design object in your slide? It gets very tricky to select the correct text box and more often than not, you end up deleting the wrong one.
But thankfully, there is a panel that reflects whichever part you select with the cursor, to avoid any confusion.
Deleting Text Boxes in PowerPoint
Before beginning, here is how you can accurately locate and isolate the text box you want to delete right in the middle of multiple design elements.
- Ungroup: If you have grouped the text box with another text box or another design element then right-click on them, click on “Group” from the right-click, and then select “Ungroup”.
- Selection Pane: Another way to find the correct text box is through the “Selection Pane” which reflects the objects you click or arrange. Go to “Arrange” under the “Home” tab and click on “Selection Pane” from the dropdown.
- Find: If you cannot locate the text box but you know what it contains then simply click on “Find” under the “Home” tab and write down the contents of the text box. This feature will help you find the text box.
Now that you have found and selected the text box, follow the fairly straightforward steps:
- Check if your selection is highlighted in the Selection Pane and that it’s an isolated text box.
- If you are unable to select the text box from the slide then click on the text box listed in the Selection Pane to select it.
- Press the “Delete” button on the keyboard.
- Alternatively, you can also cut the selected text box with either Ctrl + X or selecting “Cut” from the right click.
That is it. Make sure that the other design elements remain intact. If you feel you have made a mistake then you can always revert (undo) the action by pressing Ctrl or Command + Z.
Similarly, you have the option to remove animations from your text boxes or any other objects that you may have added them to.
Why Can’t I Delete the Text Box?
There could be some reasons. These vary from being grouped with another design object or simply not being able to locate or accurately select the desired text box.
- Grouping: To avoid disturbing the design symmetry, we sometimes group text boxes with other text boxes or other design elements when we move the objects around. In that case, deleting could result in deleting other design elements. You need to ungroup the objects before accurately isolating the correct text box.
- Overlap: Sometimes text boxes are overlapped. This means the box you want to remove could be under a few other text boxes on top of it in very close proximity to the slide. It gets difficult to accurately select the correct box in this case. Use the Selection Pane.
- Hidden: At times we accidentally put a design object or another text box on top of it. In these cases, we often cannot visibly find it but we know it is somewhere in the slide. You can use the “Find” feature under the “Home” tab and enter the contents to find it.
- Locked: Many third-party tools like extensions allow you to lock design elements. This prevents you from moving, editing, or deleting them. You have to unlock it to be able to delete it.
To avoid any confusion or error, you can always name all your design elements, including the text boxes.
Go to the Selection Pane and double-click on the text box. Here you can write down any name you want for that text box to distinguish it from other text boxes.
Wrap Up!
The most difficult thing is to select the part we want when we have an intense and complicated slide in our PowerPoint file. It is better to access the text box through the Selection Pane instead of randomly clicking and deleting things with pure guesswork.

Leave a Reply