For years, converting words into an image or a cloud shape was something only professional designers could do. While you can add text individually and format them manually, that is one lousy and tiring way to make a word cloud.
PowerPoint does not offer a built-in feature. However, some add-ins can help you create one. Additionally, you can use third-party tools. In this article, I’ll touch upon both ways, one by one.
So, let’s get going!
Method 1: Using Add-ins
If you need word clouds more frequently in your presentations or if you need multiple word clouds in the same presentation then it’s best that you add a word cloud generating add-on to your PowerPoint.
Here’s how:
- Open the slideshow file where you want to add the word cloud.
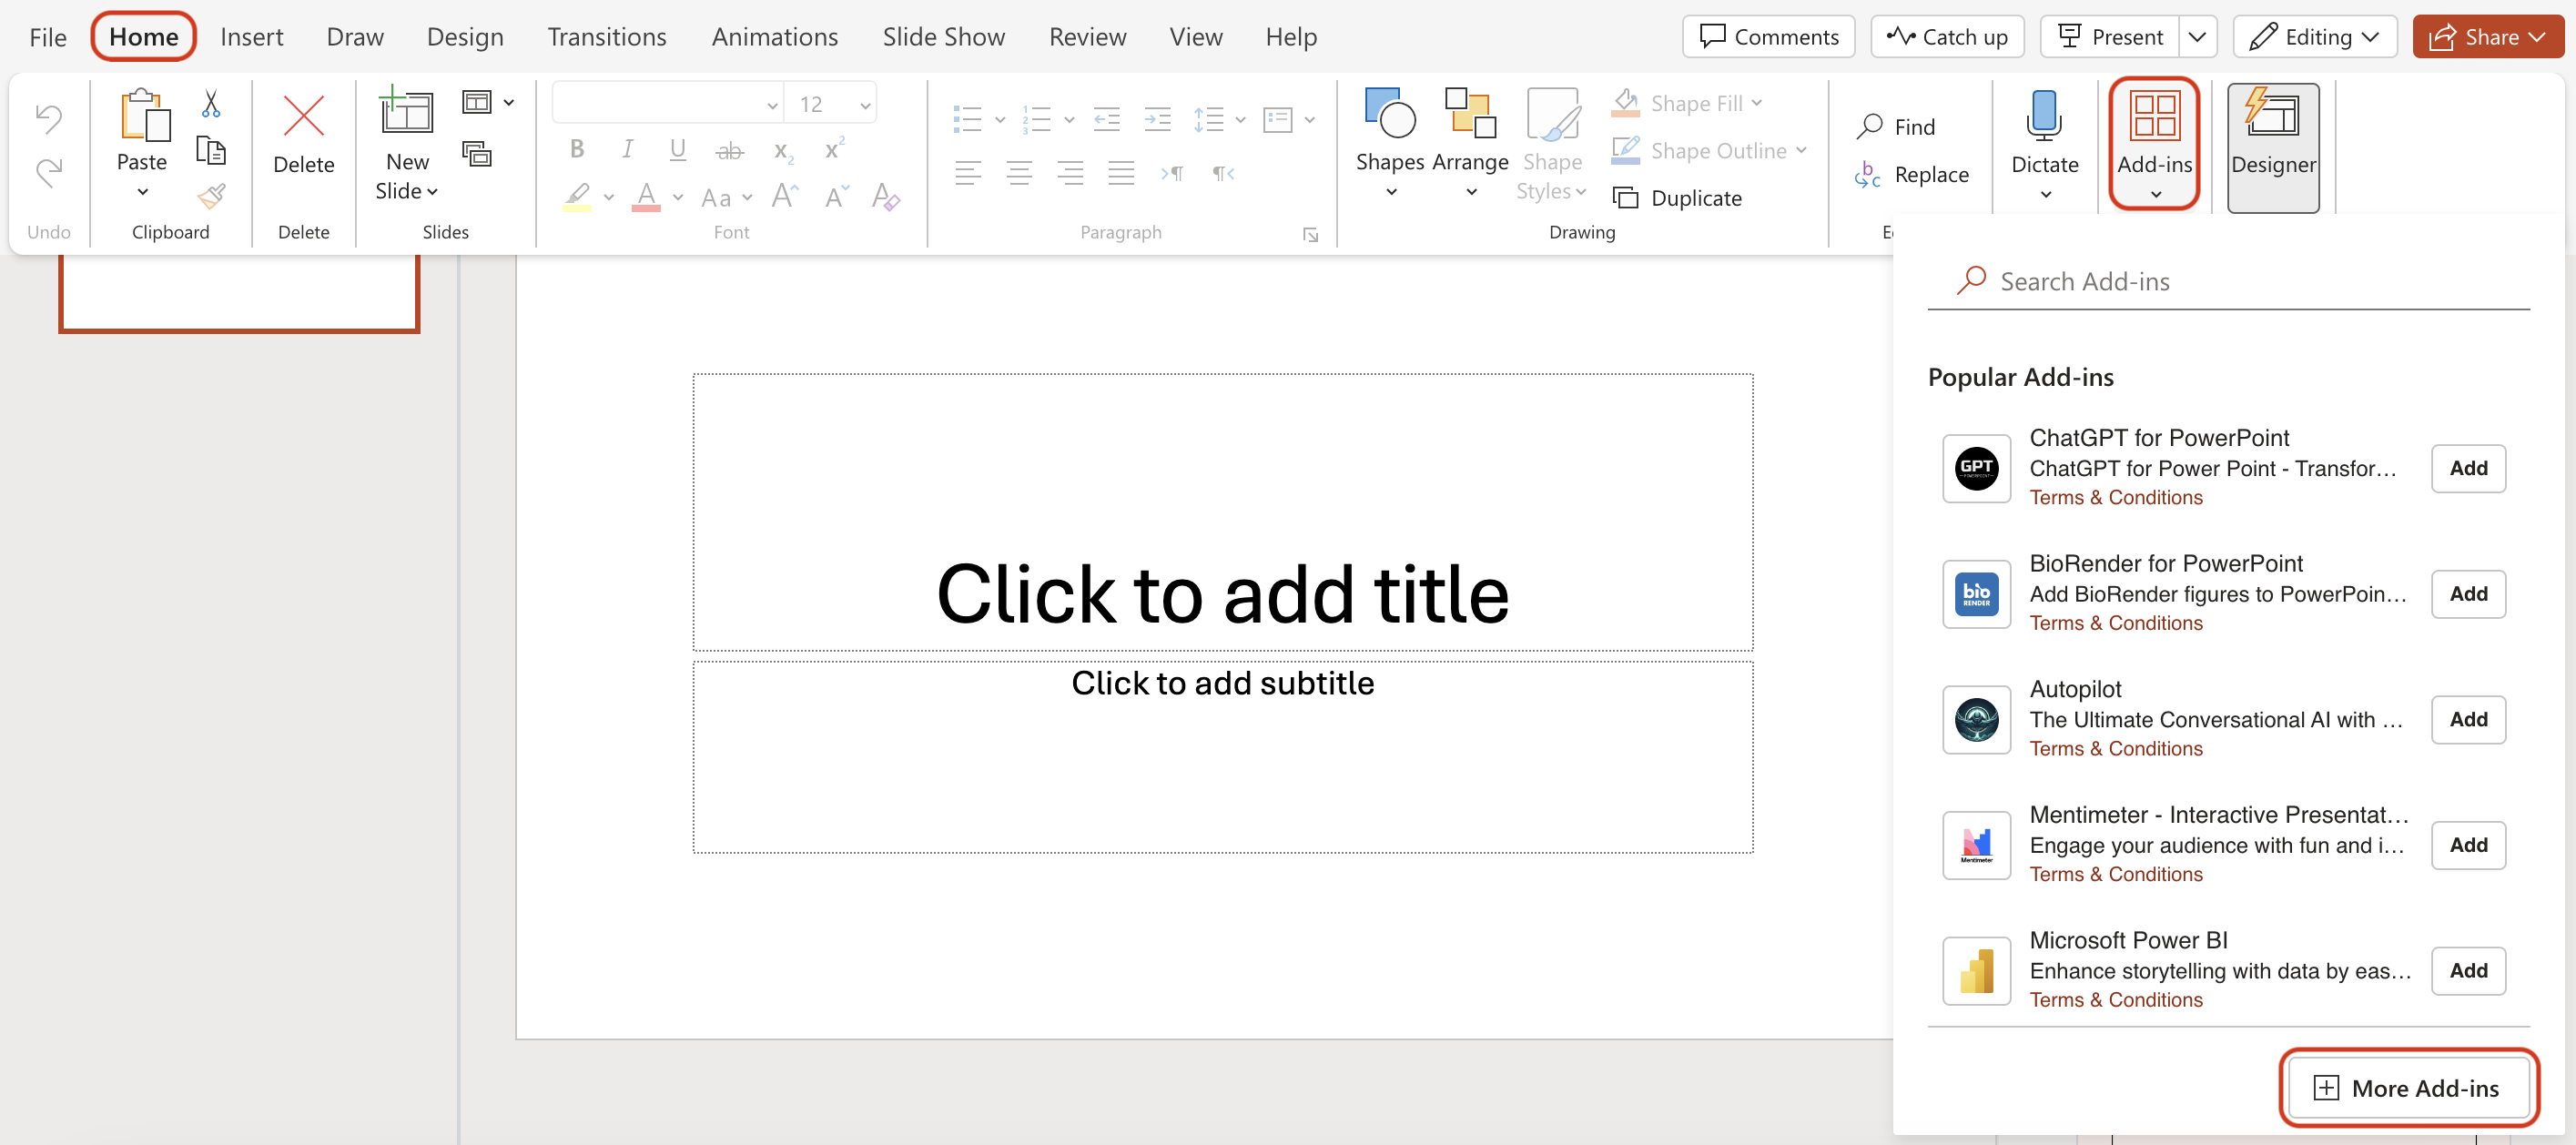
- Go to the “Home” tab.
- Select “Add-ins”.
- Select “+ Get Add-ins” at the bottom of the dropdown.
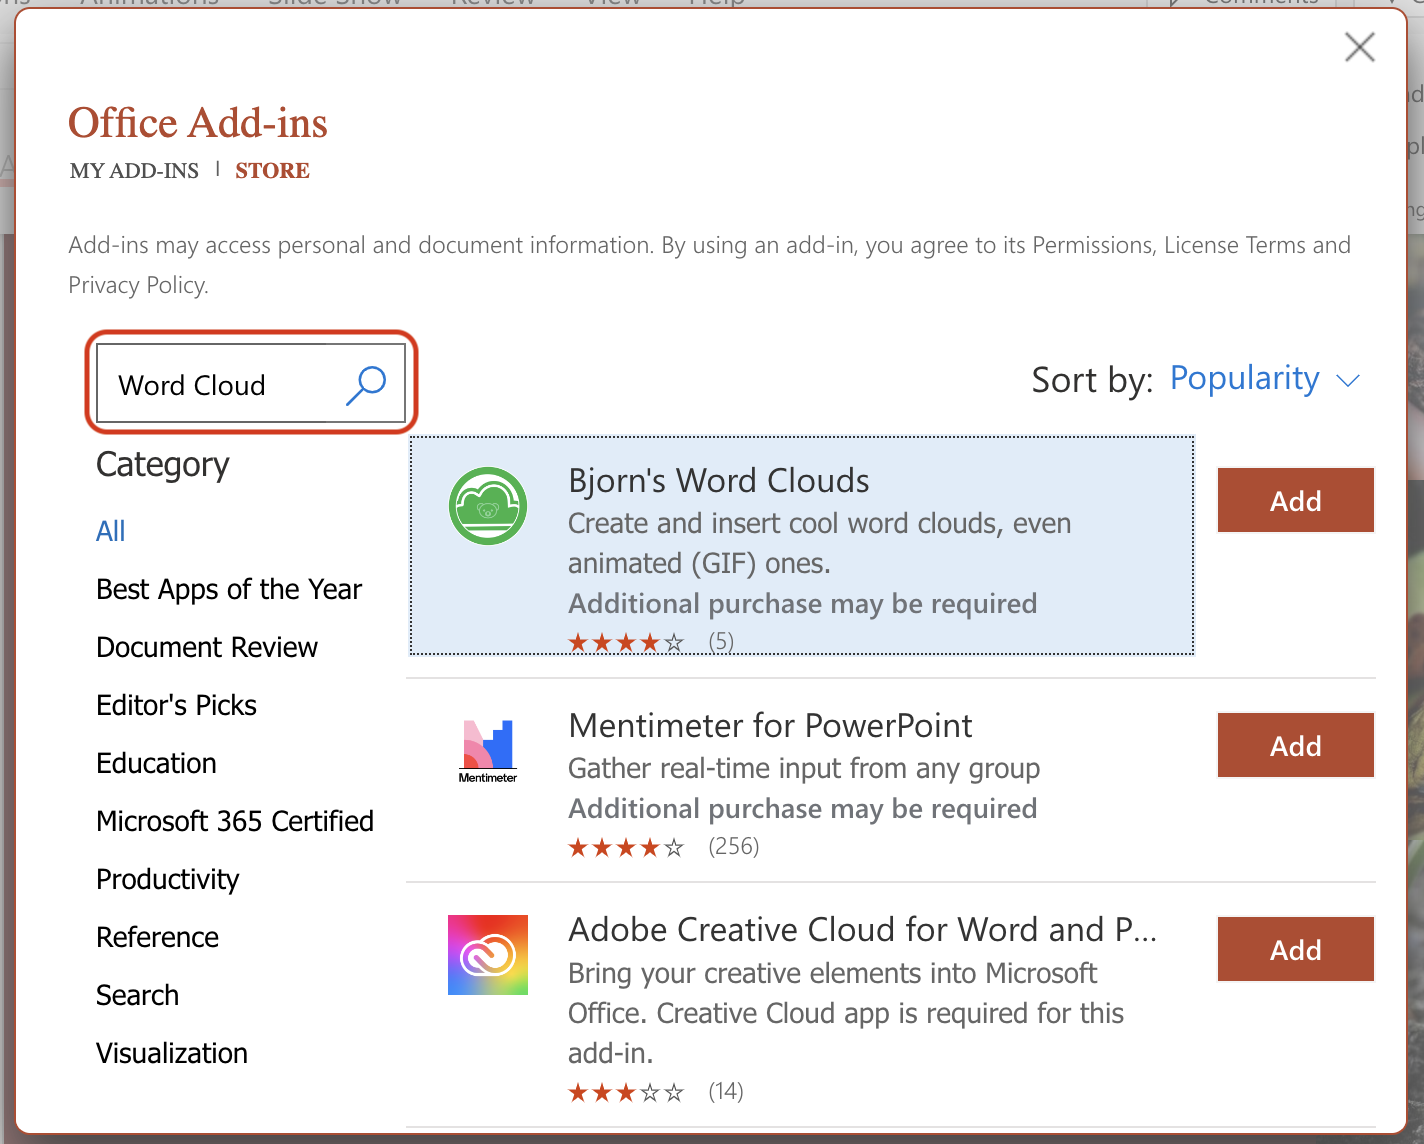
- Search for “Word Cloud” in the search bar.
- Click on “Add” to add it to your Powerpoint.
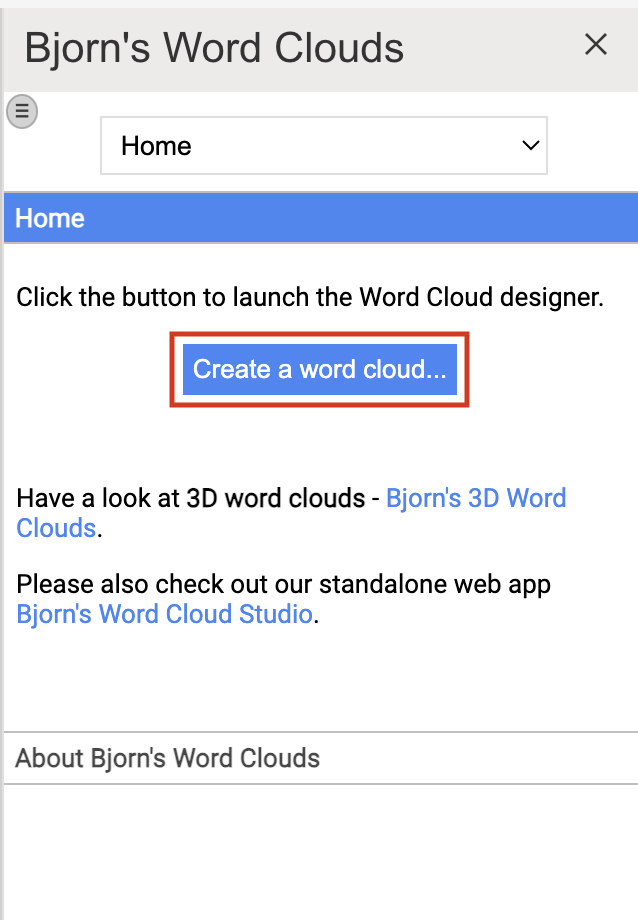
- Now go to the “Home” tab, you will see your added word cloud there.
- A sidebar opens with the option “Create a Word Cloud“.
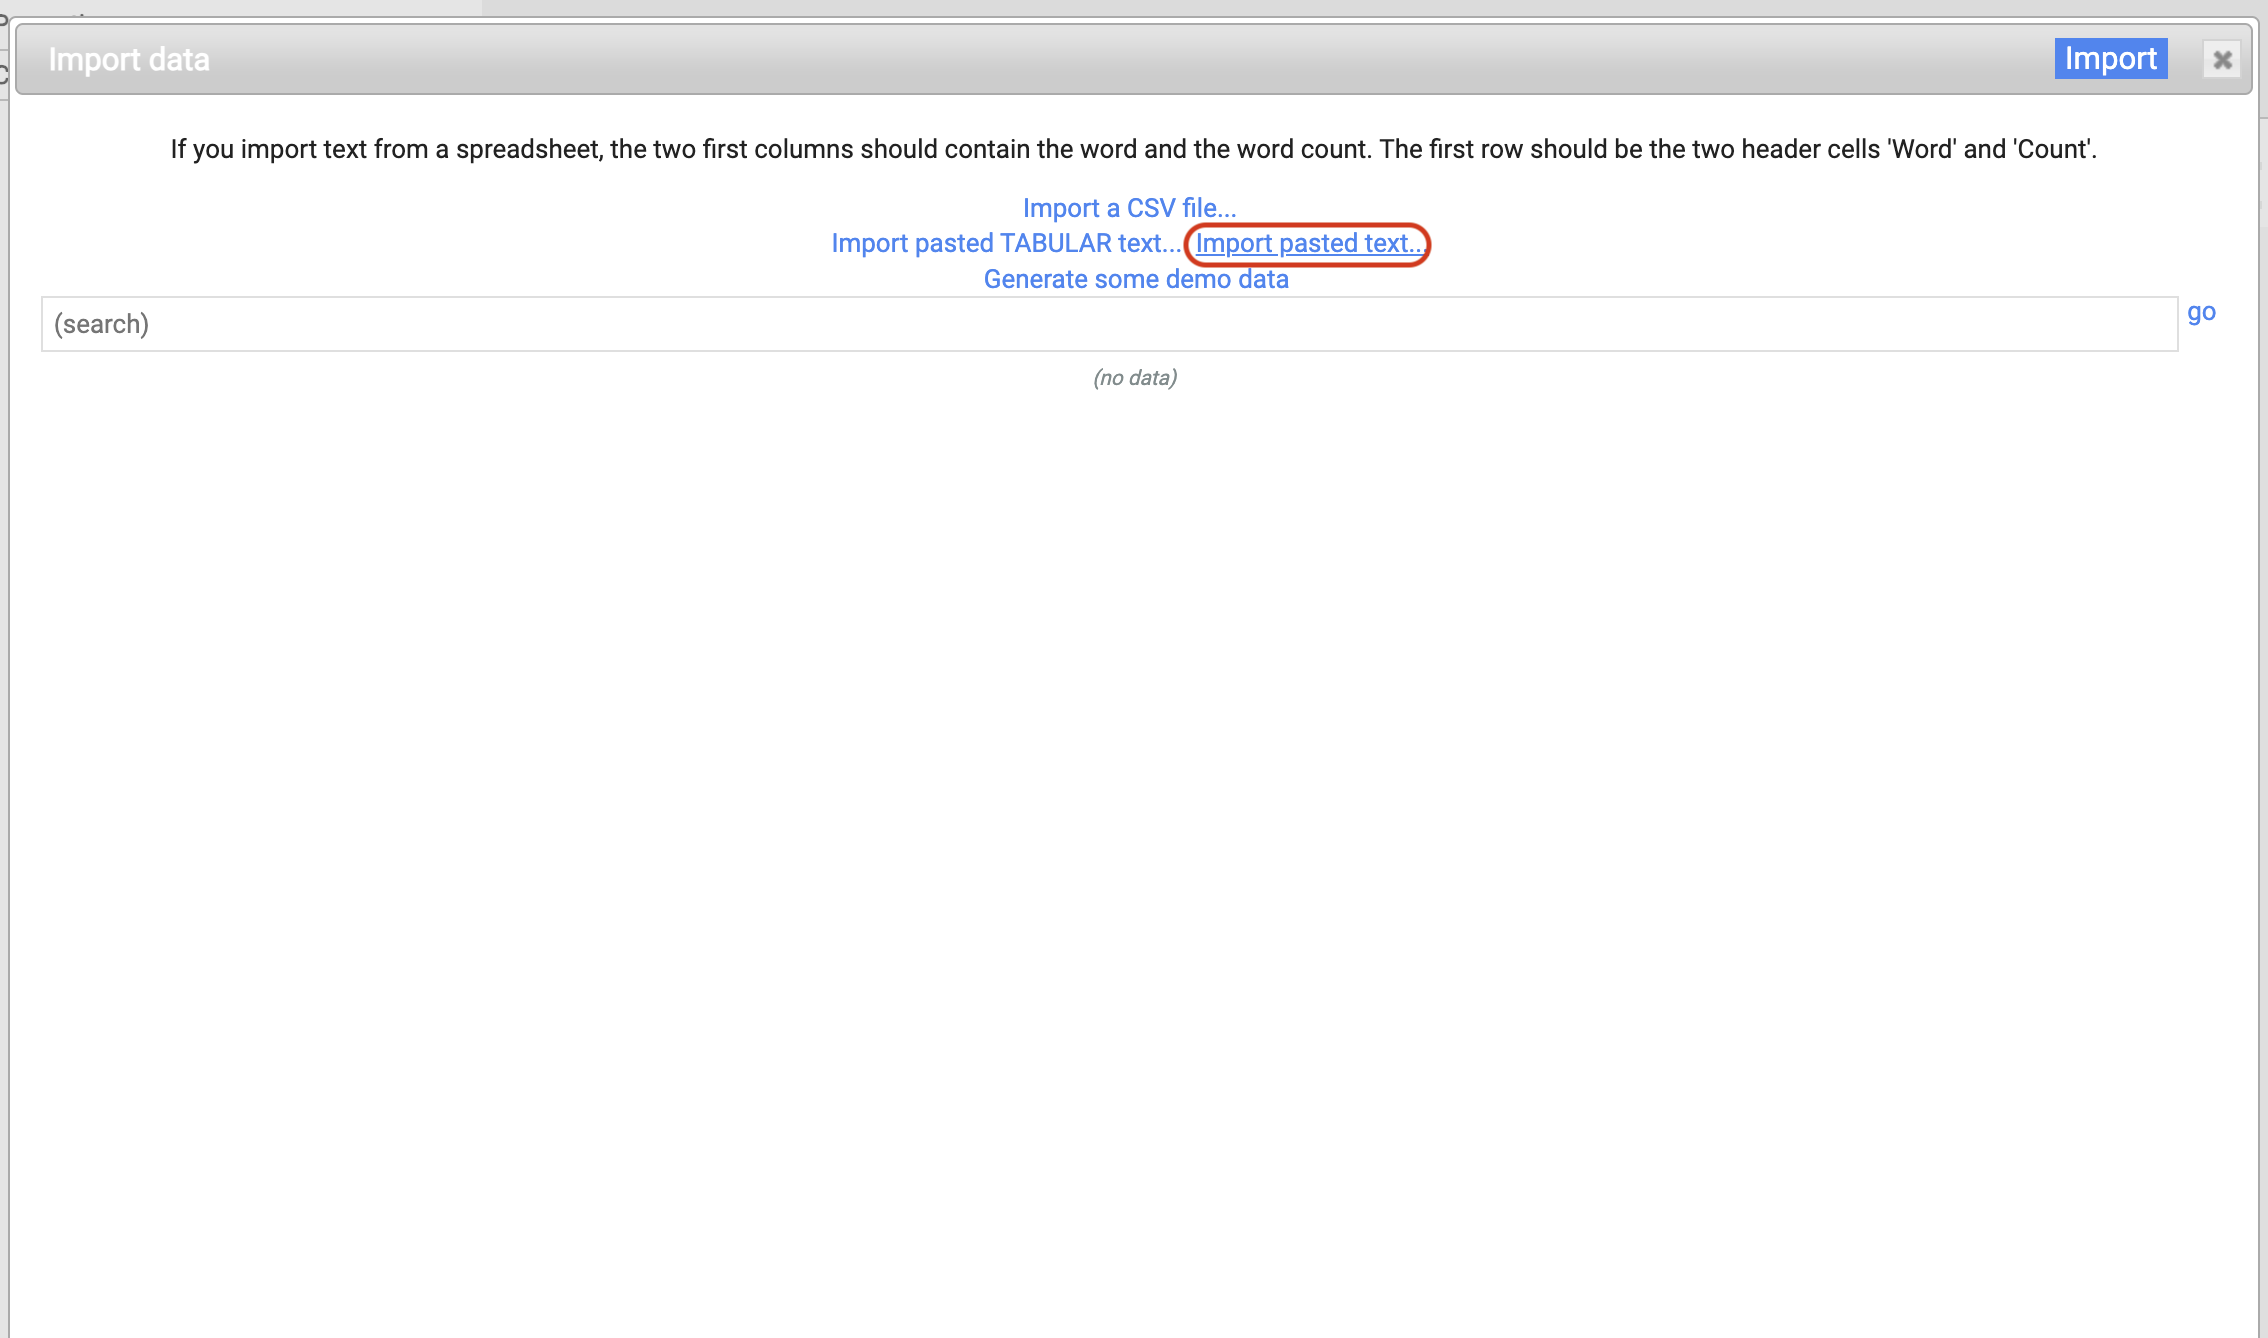
- Select the source of text or write or paste the text you want the word cloud to contain.
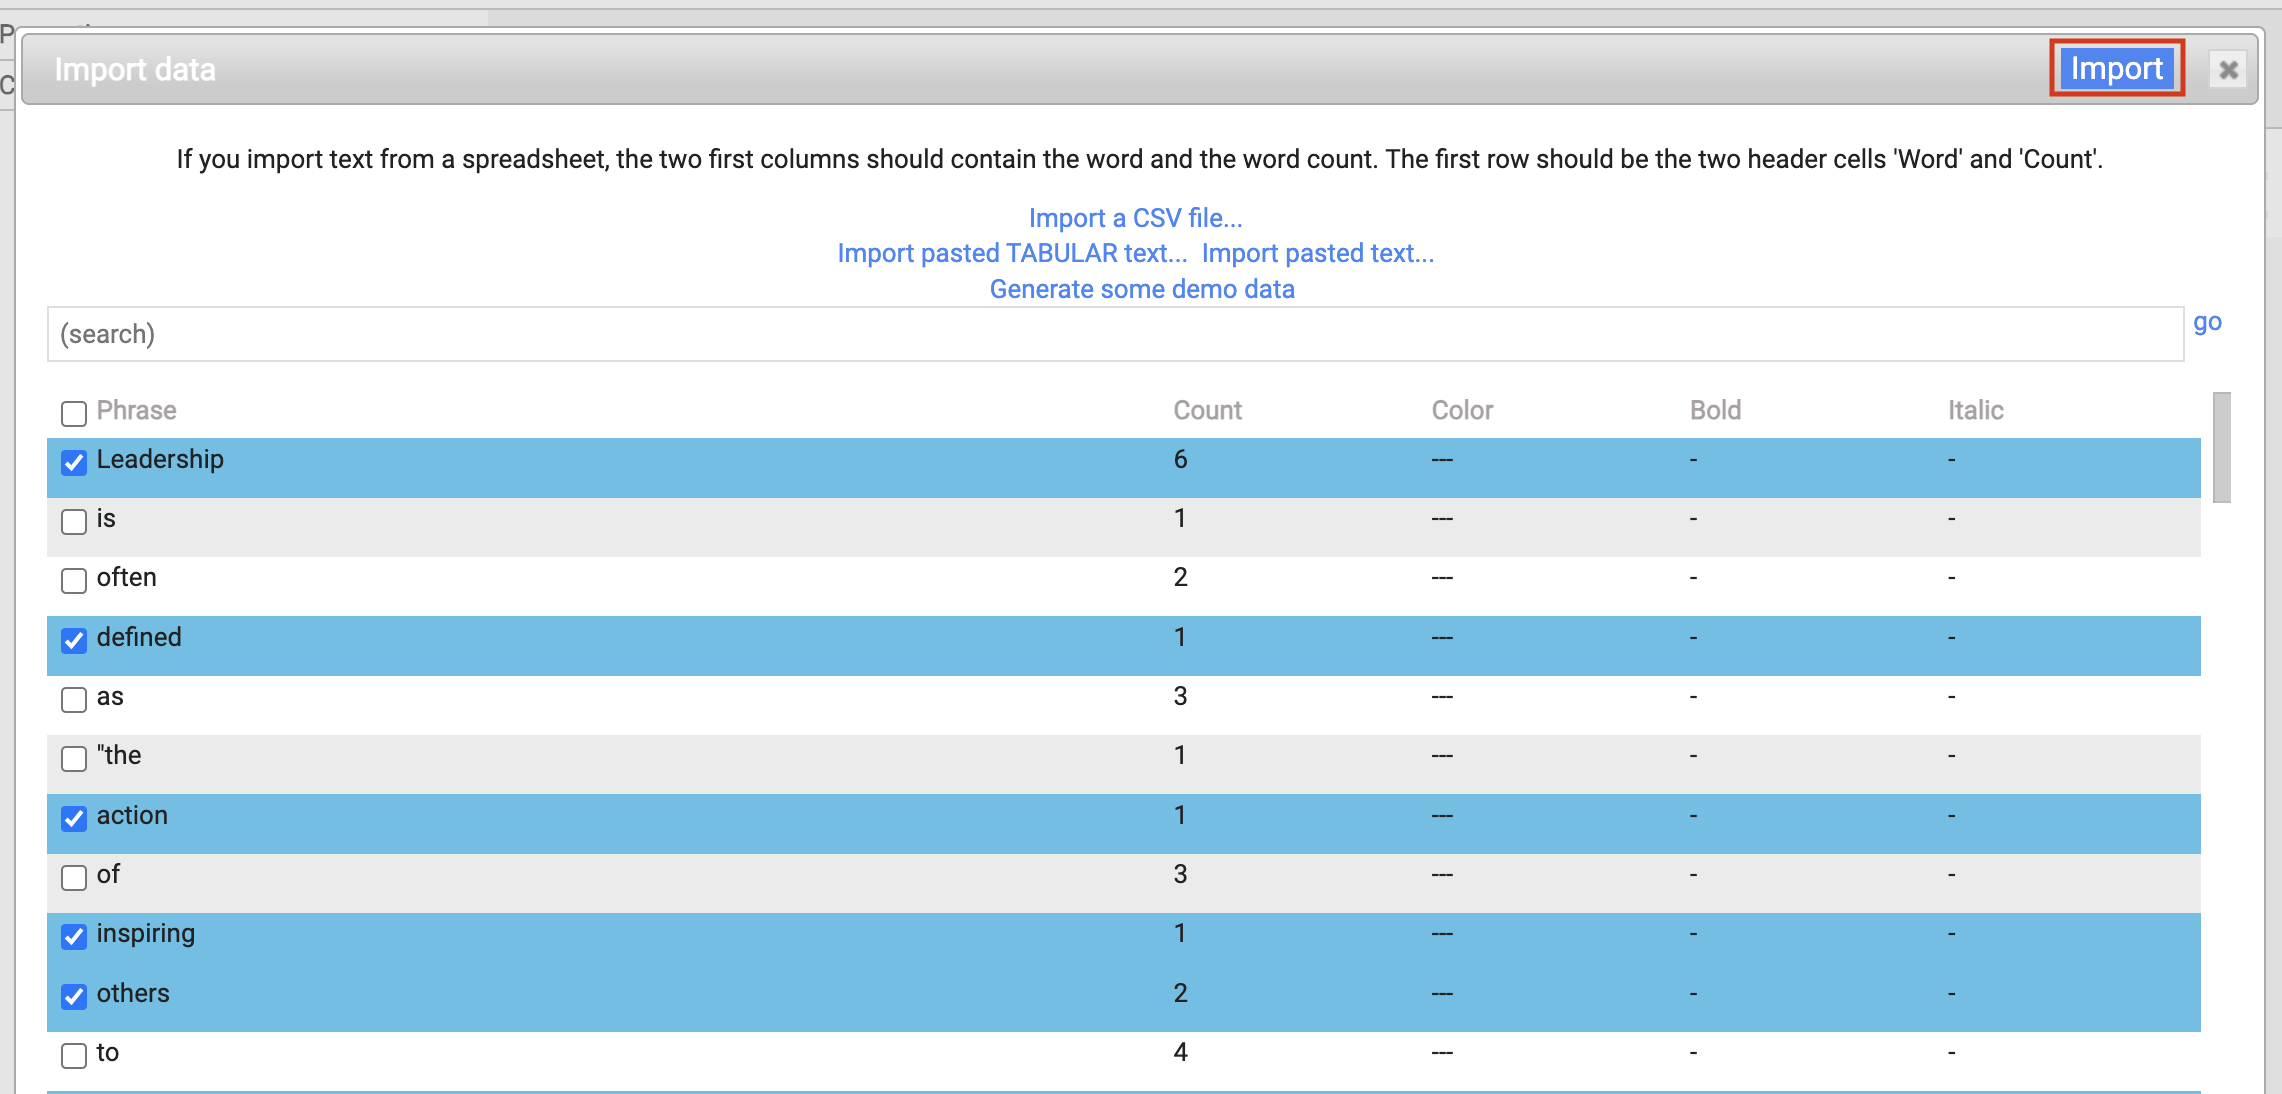
- Once you paste the data, the tool will show you all the words and their count this can help you create a word cloud with common words. This makes the cloud more relevant.
- Choose the words you want to include.
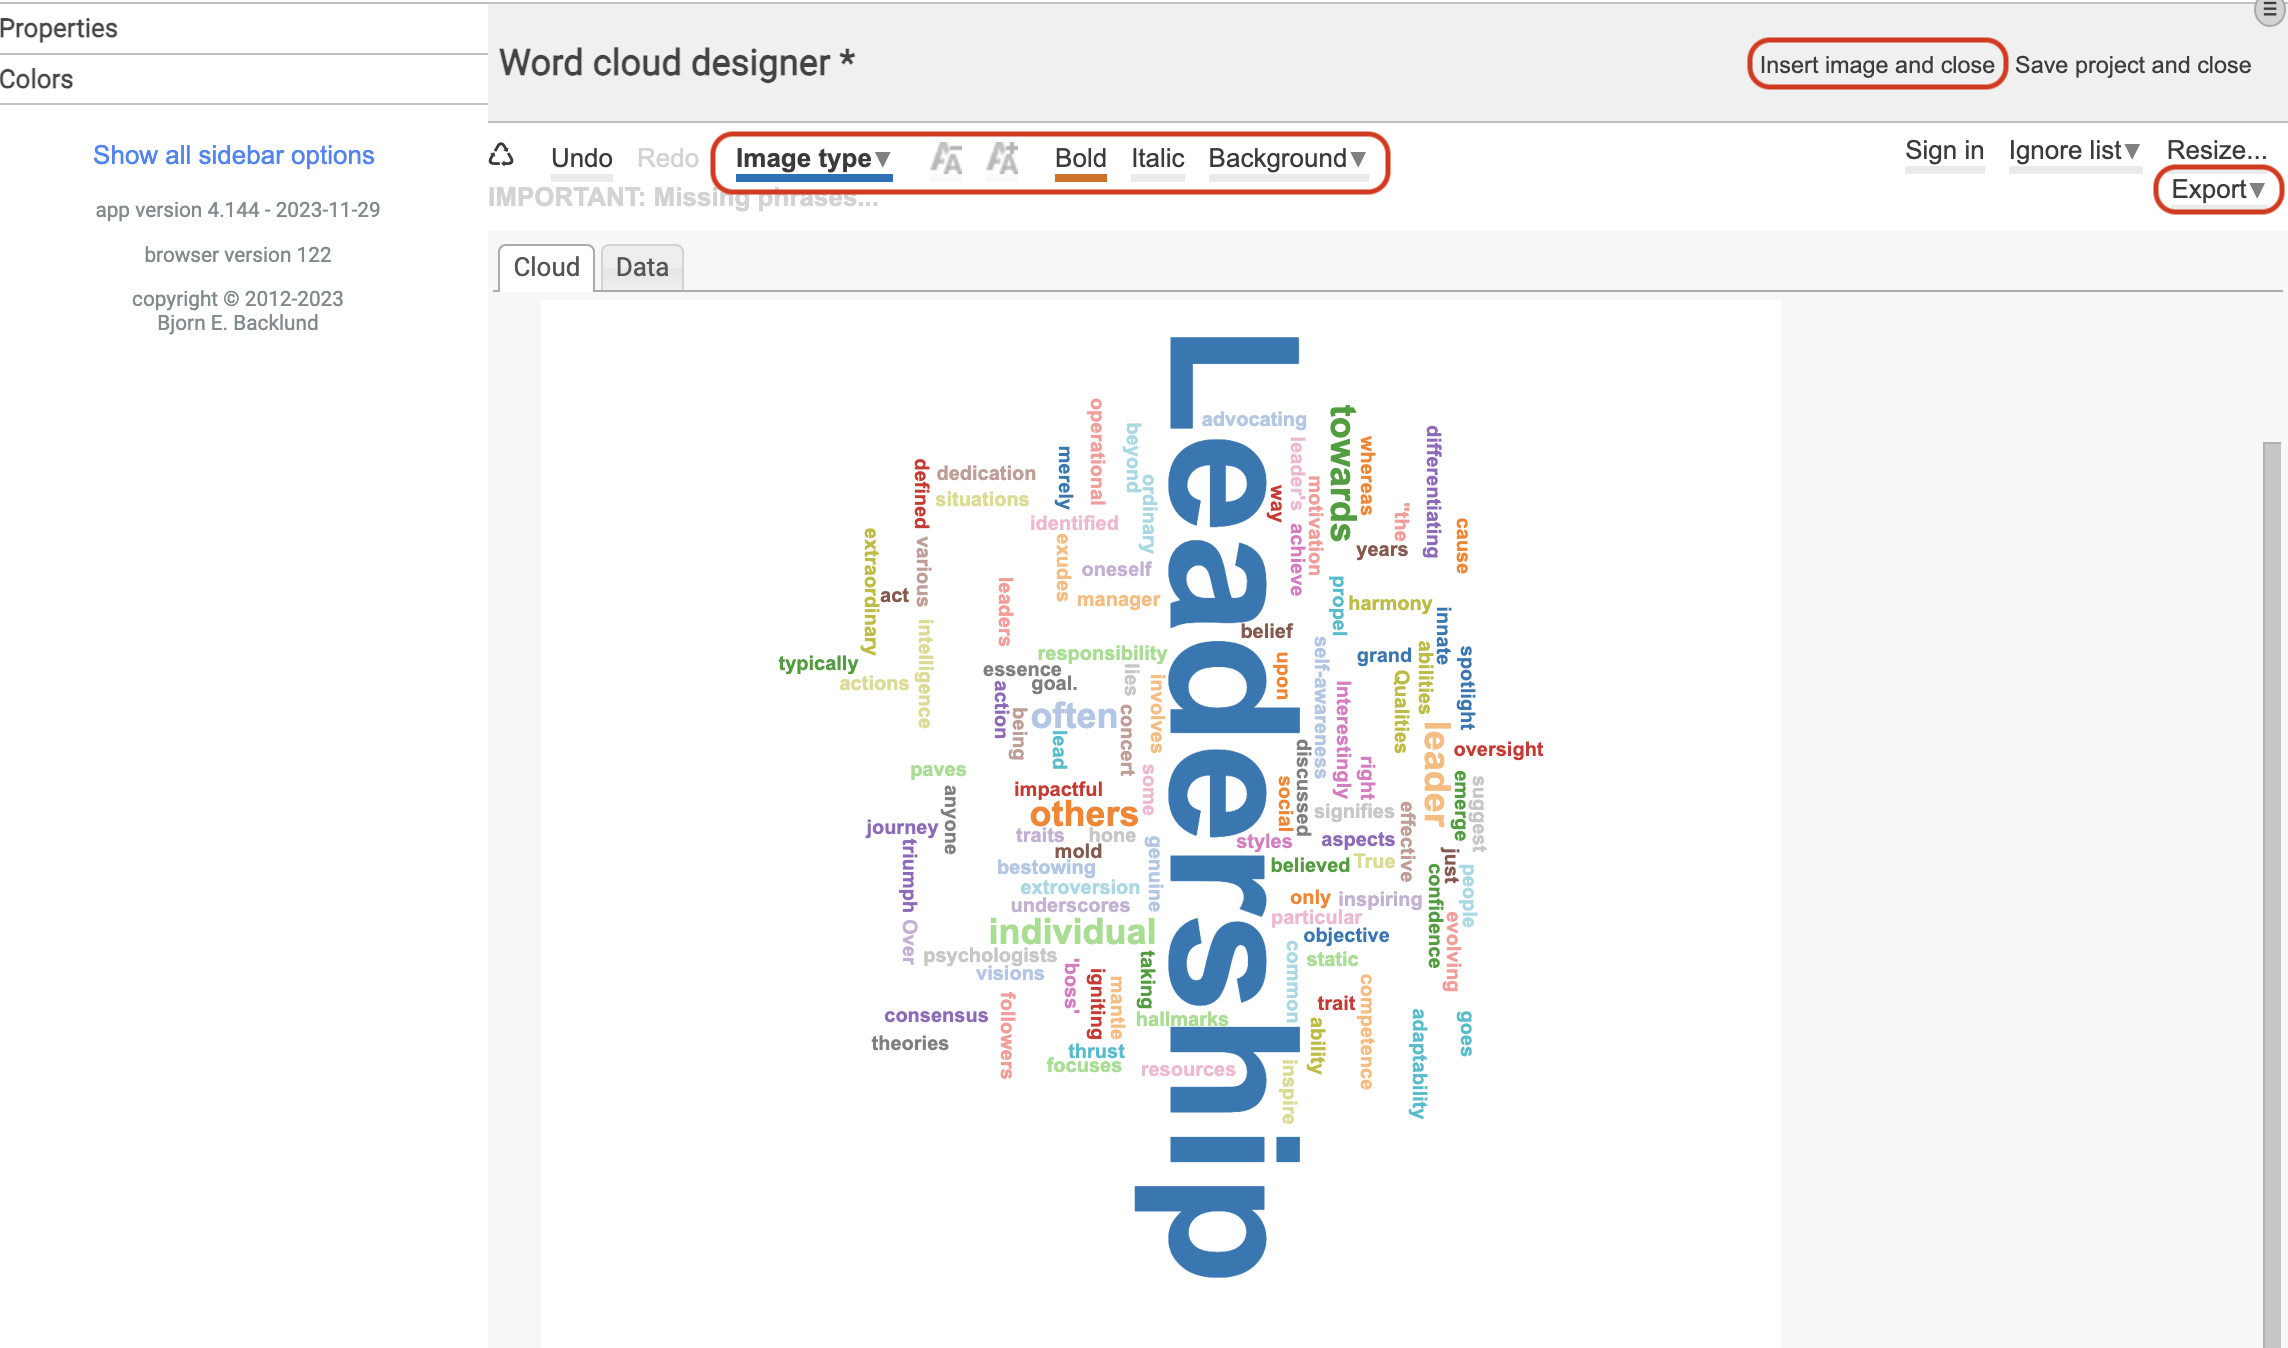
- Select the formatting options and then you can directly insert or export the word cloud.
- Adjust the size as per your preference.
Method 2: Using Online Tools
This method is best suited for people who only need design elements like word clouds once in a while.
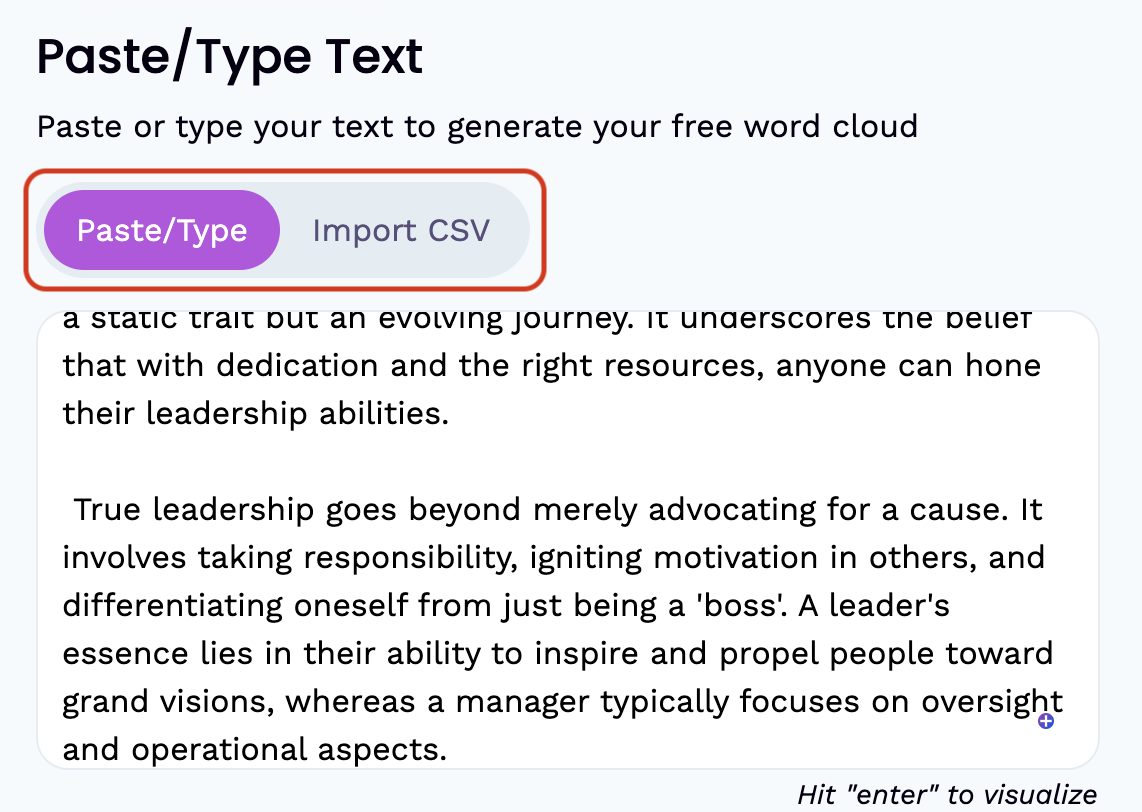
- Create the text you want to add in your word cloud separately in a notepad or a Word file.
- Search for a “Word Cloud Generator”.
- Follow the instructions on the word count generator website and enter your text.
- Note that you will be required to add chunks of text depending on their size and location on the cloud.
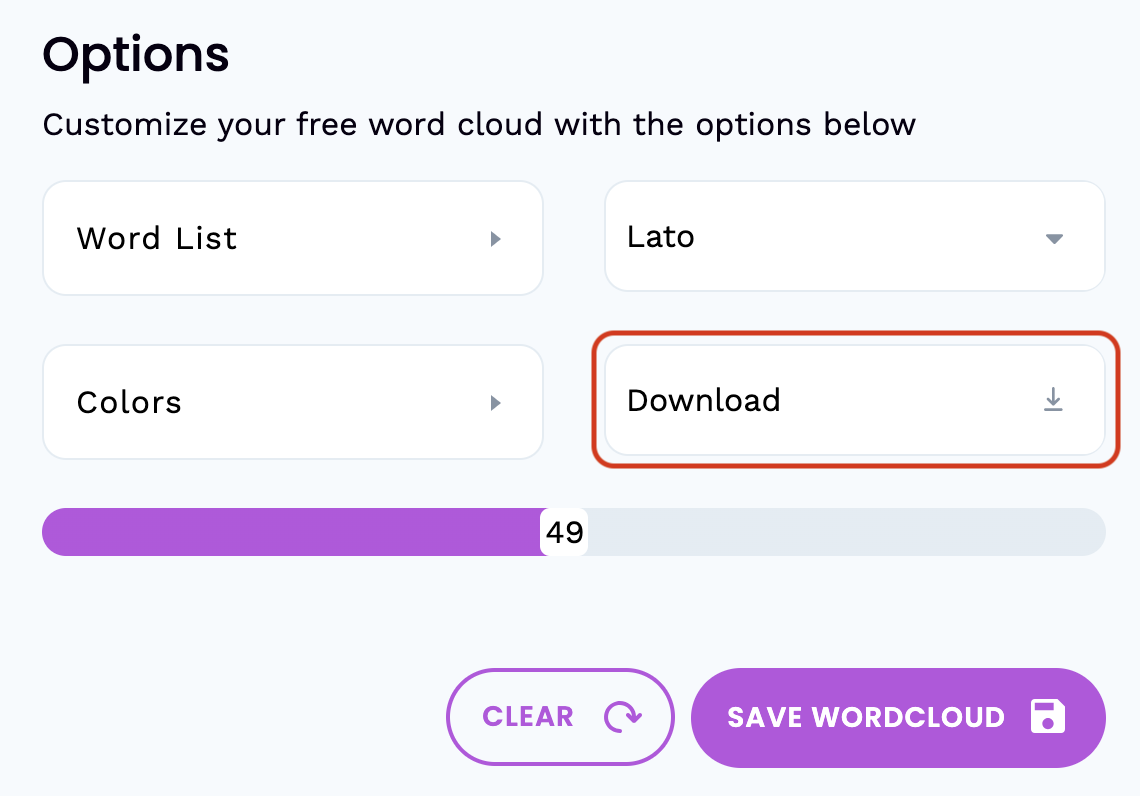
- You can also adjust the formatting and the word count.
- Keep an eye on the preview section, where you can see how the text you enter appears on the word cloud.
- Once you are done entering texts into the word cloud, save it as an image on your computer.
- Open the PowerPoint file where you want to add the word cloud.
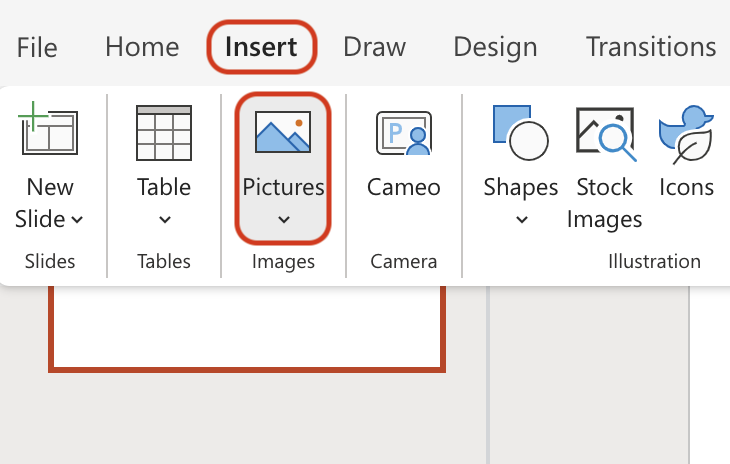
- Go to the “Insert” tab.
- Select “Picture”.
- Select the picture of word cloud which you downloaded recently from the word cloud generator website.
- Resize and relocate the image on your slide.
Tips & Tricks
Check out some effective tips and tricks to make the most of word clouds:
- Layout: You can manually arrange the words, resize them, and place them wherever you want in the slide.
- Customize: You can play around with the fonts, colors, sizes, and shapes of the text in the word cloud with the Format option.
- Mix & Match: Add images, clip art, or vectors to your word cloud to make it even more dynamic.
- Animate: Add animations to either individual words or the entire word cloud on your slide.
- Poll: Many amazing add-ins allow you to create word clouds based on the responses from people during a presentation.
Frequently Asked Questions
If you have added a word cloud in PowerPoint using an add-in like Pro Word Cloud, then you can surely edit a word for its shape, size, location, fonts, or colors.
Yes, there are many effective and dynamic word cloud generators from Microsoft AppSource platforms like Pro Word Cloud that contain many templates for creating completely customizable word clouds.
Wrap Up!
Word clouds are great to carve some keywords right into the consciousness of your clients. What matters is how you place your words inside it in terms of the order, fonts, colors, and overall placement. Both third-party websites and PowerPoint add-ins work equally well.



Leave a Reply